Monday, 29 April 2013

Makefile in linux Kernel


The Makefile controls the creation of the actual image file. This includes control of the program and
device files install destinations, install destinations of data and configuration files required by the program, and checksum generation. Makefile with single source file.

hello.c
------------------------------------------------------------------------------------------------------------------------
#include <stdio.h>
int main()
{
printf(“World”);
return 0;
}
------------------------------------------------------------------------------------------------------------------------

Makefile
------------------------------------------------------------------------------------------------------------------------
EXEC = hello
OBJS = hello.o

all: $(EXEC)
$(EXEC): $(OBJS)
$(CC) $(LDFLAGS) -o $@ $(OBJS) $(LDLIBS)
clean:
-rm -f $(EXEC) *.elf *.gdb *.o
%.o: %.c
$(CC) -c $(CFLAGS) -o $@ $< //if $(CC) =$(CROSS_COMPILE_APPS)gcc

------------------------------------------------------------------------------------------------------------------------

Executables with multiple source code files can be supported by making changes in the Makefile. The following example generates a single executable.

For Example: hello from hello.c and print.c.

hello.c
------------------------------------------------------------------------------------------------------------------------
#include <stdio.h>
extern void print_hello(char * string);
int main(int argc, char * argv[])
{
print_hello(“World”);
return 0;
}

------------------------------------------------------------------------------------------------------------------------

print.c
------------------------------------------------------------------------------------------------------------------------
void print_hello(char * string)
{
printf(“Hello %s\n”, string);
}
------------------------------------------------------------------------------------------------------------------------
Makefile
------------------------------------------------------------------------------------------------------------------------
EXEC = hello
OBJS = hello.o print.o ----------------------------------- Add “print.o”

all: $(EXEC)
$(EXEC): $(OBJS)
$(CC) $(LDFLAGS) -o $@ $(OBJS) $(LDLIBS)
clean:
-rm -f $(EXEC) *.elf *.gdb *.o
%.o: %.c
$(CC) -c $(CFLAGS) -o $@ $< //if $(CC) =$(CROSS_COMPILE_APPS)gcc

------------------------------------------------------------------------------------------------------------------------
This Makefile will create two files
  1. FLAT: formate binary file, This is the file which is an executable on target.
  2. .gdb: extension file, This will be containing additional debug & symbol table information to allow user to debug user application program with GBD.

Sunday, 28 April 2013

How to compile a Kernel and upgrade the kernel version for PC


                                                        How to compile a Kernel
                                                                   

 Downloading and configuring

Step1: Downloading :

      Download a kernel, unpack it into any path and create the “linux” link so that the commands are a little more generic. File name would be linux-x.y.z.tar.bz2, where x.y.z is actual version number.


For example I am taking a file inux-2.6.37.6.tar.bz2 which represents 2.6.37.6 kernel version. Use wget command to download kernel source code. It is common to let the ”linux” link point to the kernel you are currently working with.


 Step2:
   
 Now, get a kernel config file by following these steps.

Step3: configuring
It's a good idea to use the configuration of our current working kernel as a basis for the kernel. Therefore we copy the existing configuration to /usr/src/linux:  

 Step4:
            :/usr/src/linux#

Which brings up the kernel configuration menu. Go to Load an Alternate Configuration File and choose .config (which contains the configuration of your current working kernel) as the configuration file:


Then we need to browse through the kernel configuration menu and make our choices. When we finished and select Exit, answer the following question (Do you wish to save your new kernel configuration?) with Yes:


Step 5: Build The Kernel
   
To build the kernel, execute these two commands:

After --append-to-version= you can write any string that helps you identify the kernel, but it must begin with a minus (-) and must not contain whitespace.
Now be patient, the kernel compilation can take some hours, depending on our kernel configuration and our processor speed.

Step 6: Install The New Kernel
After the successful kernel build, we can find two .deb packages in the /usr/src directory.
They were called linux-image-2.6.37.6-custom_2.6.37.6-custom-10.00.Custom_i386.deb (which contains the actual kernel) and linux-headers-2.6.37.6-custom_2.6.37.6-custom-10.00.Custom_i386.deb (which contains files needed if you want to compile additional kernel modules later on). I install them like this:


(We can now even transfer the two .deb files to other Ubuntu systems and install them there exactly the same way, which means you don't have to compile the kernel there again.)
That's it. We can check /boot/grub/menu.lst now, we should find two stanzas for our new kernel there:

Text Box: vi /boot/grub/menu.lst


Now we can see these two stanzas;

title           Ubuntu, kernel 2.6.37.6-custom
root            (hd0,0)
kernel          /boot/vmlinuz-2.6.37.6-custom root=/dev/sda1 ro quiet splash
initrd          /boot/initrd.img-2.6.37.6-custom
savedefault
boot

title           Ubuntu, kernel 2.6.37.6-custom (recovery mode)
root            (hd0,0)
kernel          /boot/vmlinuz-2.6.37.6-custom root=/dev/sda1 ro single
initrd          /boot/initrd.img-2.6.37.6-custom
boot

Step 7: update-grub
Step 8: Reboot
Text Box: $  reboot


Step 9:
If everything goes well, it should come up with the kernel. We can check this by running
Text Box: uname -r


This will display something like 2.6.37.6-custom


TO UNISTSLL THE OLDER KERNEL:
This will show you how to find out your current running kernel and how to remove older ones that are not being used by your system. This will help you free up some space and may also improve your system’s performance.
Objectives:
·      Find out your current running kernel
·      Remove older kernels 

Step 1: To get started, press Ctrl – Alt – T to open Terminal. When it opens, run the commands below to view your current running kernel.
uname -r

Next, take notes of your current kernel. DO NOT REMOVE THIS!

Step 2: Next, type the command below to view / list all installed kernels on your system.
dpkg --list | grep linux-image

Next, find all the kernels that which number are lower than your current kernel.  When you know which kernel to remove, continue below to remove it.
Step 3: Finally, run the commands below to remove the kernel you selected.
sudo apt-get purge linux-image-x.x.x.x-generic


When you’re done, run the commands below to update grub2
Step 4:
sudo update-grub2


Tuesday, 23 April 2013

How to Install/setup social media chatting like Gtalk,Ipmsg,and Skype on Linux(Ubuntu 12.04)


In ubuntu(12.04) social meada and chattig software installation

1.Gtalk:

go to ubutu software center
--> search for emphathy
click to install or uninstall the software.


2. Pidgin:
      This is same as empathy this also you can install it in the same way as empathy


3. IP messanger:

go to ubutu software center
--> search for xipmsg


click to install or uninstall the software.

4. Skype:
go to ubutu software center
--> search for skype

click to install or uninstall the software.

5. Start on system startup:
to left most top corner you will get click on it you will get a option saying startup application

click on it to add your executable to start on system startup

Executabls are present in path /usr/bin

How to access and change the u-Boot env variables in linux


Have you ever thought to change the U-boot settings once, after you got the Linux console? Well, you might be thinking to entering into the U-boot setting prompt to do this. But there is a beautiful method already exist to achieve this operation!

Well, here I'm not giving anything from the sky or vanishing anything like a magician, but trying to show a Utility tool (you can't say exactly it's a tool, better it can be consider as one option ;) ) which already available :0 .

All you have to do is, to try some geeky way (though very simple) only at once and do the magic always.
The key tool which you have to enable is "fw_printenv" from the U-boot.

Follow the below steps to make the wonders in U-boot from your own lovely Linux console ;)
  1. Step 1: Generate the "fw_printenv" utility tool in U-boot

    1. give 'env' (optional parameter) in u-boot and compile it. Be patient for the compilation ;) 
    2. The above step generate the 'fw_printenv' in the U-Boot directory tools/env 
    3. Copy the 'fw_env.config' file too.
  2. Step 2: Well, we copied, but where to paste it ! Follow the steps ;)

    1. Copy fw_printenv to /sbin on the root file system of your own board. 
    2. The interesting thing here is that the fw_printenv binary also contains the code for fw_setenv.  The functions of fw_setenv are run when the program is invoked with the name "fw_setenv".   this is most easily accomplished by creating a symbolic link from fw_printenv to fw_setenv, as in "ln -sf /sbin/fw_printenv /sbin/fw_setenv"                                                                                       
  3. Step 3: Create config file for the utility, in order to take place the action(I have not used config file in my example given here).

    1. Remember, you copied 'fw_env.config' from 'u-boot/tools/env/' path? But you didn't play with  it yet right? ;) Well, this is the right time for that! All you have to do is, copy the fw_env.config  into /etc path. Finished? Relaxed? No...remember, this is a geeky professional way dude ;) 
    2. Open the 'fw_env.config' and make required changes related to env size, flash sector size and number of sectors according to flash which you are using. You have to change the fw_env.config with respect to your system modification rather than simply putting it into /etc. you can easily check this from /proc/mtd.
Once you configure the appropriate values in fw_env.config, then rest of the stuffs are pretty easy.

From the Linux console, you can print the u-boot setting by giving the fw_printenv where as with fw_setenv , you can edit the u-boot settings!!! Easy right? 

If you get something like:

Warning: Bad CRC, using default environment
bootcmd=bootp; setenv bootargs root=/dev/nfs nfsroot=${serverip}:${rootpath} ip=${ipaddr}:${serverip}:${gatewayip}:${netmask}:${hostname}::off; bootm
bootdelay=5
baudrate=115200
it means the values in /etc/fw_env.config are not correct, so don't even try fw_setenv

Example wrt  processor architecture.
changes did with respect to my LPC1788 board(changes highleted with yellow collour).
  1. u-boot/tools/env/Makefile changed:
#
# (C) Copyright 2002-2006
# Wolfgang Denk, DENX Software Engineering, wd@denx.de.
#
# See file CREDITS for list of people who contributed to this
# project.
#
# This program is free software; you can redistribute it and/or
# modify it under the terms of the GNU General Public License as
# published by the Free Software Foundation; either version 2 of
# the License, or (at your option) any later version.
#
# This program is distributed in the hope that it will be useful,
# but WITHOUT ANY WARRANTY; without even the implied warranty of
# MERCHANTABILITY or FITNESS FOR A PARTICULAR PURPOSE. See the
# GNU General Public License for more details.
#
# You should have received a copy of the GNU General Public License
# along with this program; if not, write to the Free Software
# Foundation, Inc., 59 Temple Place, Suite 330, Boston,
# MA 02111-1307 USA
#
include $(TOPDIR)/config.mk
SRCS := $(obj)crc32.c fw_env.c fw_env_main.c
HEADERS := fw_env.h
CPPFLAGS := -Wall -DUSE_HOSTCC -I$(SRCTREE)/include
CFLAGS := -Os -mcpu=cortex-m3 -mthumb -I$(INSTALL_ROOT)/linux/inlude/linux
LDFLAGS := -mcpu=cortex-m3 -mthumb -L$(INSTALL_ROOT)/linux/lib
ifeq ($(MTD_VERSION),old)
CPPFLAGS += -DMTD_OLD
endif
all: $(obj)fw_printenv
$(obj)fw_printenv: $(SRCS) $(HEADERS)
$(CROSS_COMPILE)gcc $(CPPFLAGS) $(LDFLAGS) $(SRCS) -o $(obj)fw_printenv
clean:
rm -f $(obj)fw_printenv $(obj)crc32.c
$(obj)crc32.c:
ln -s $(src)../../lib_generic/crc32.c $(obj)crc32.c
#########################################################################

include $(TOPDIR)/rules.mk

sinclude $(obj).depend

#########################################################################


Note: copied from application folder /app/Makefile(This two lines says that we need to compile wrt  processor architecture.)

CFLAGS := -Os -mcpu=cortex-m3 -mthumb -I$(INSTALL_ROOT)/linux/inlude/linux
LDFLAGS := -mcpu=cortex-m3 -mthumb -L$(INSTALL_ROOT)/linux/lib

2. fw_env.h
----------------------------------------------------------------------------------------------------------------------------------
/*
* (C) Copyright 2002-2008
* Wolfgang Denk, DENX Software Engineering, wd@denx.de.
*
* See file CREDITS for list of people who contributed to this
* project.
*
* This program is free software; you can redistribute it and/or
* modify it under the terms of the GNU General Public License as
* published by the Free Software Foundation; either version 2 of
* the License, or (at your option) any later version.
*
* This program is distributed in the hope that it will be useful,
* but WITHOUT ANY WARRANTY; without even the implied warranty of
* MERCHANTABILITY or FITNESS FOR A PARTICULAR PURPOSE. See the
* GNU General Public License for more details.
*
* You should have received a copy of the GNU General Public License
* along with this program; if not, write to the Free Software
* Foundation, Inc., 59 Temple Place, Suite 330, Boston,
* MA 02111-1307 USA
*/
/*
* To build the utility with the run-time configuration
* uncomment the next line.
* See included "fw_env.config" sample file (TRAB board)
* for notes on configuration.
*/
/*#define CONFIG_FILE "/etc/fw_env.config"*/
/*#define HAVE_REDUND For systems with 2 env sectors */
#define DEVICE1_NAME "/dev/mtd0"
/*#define DEVICE2_NAME "/dev/mtd2"*/
#define DEVICE1_OFFSET 0x00000
#define ENV1_SIZE (4 * 1024) /* taken it with comparig to the file u-boot/include/configs/lpc-lnx-evb.h*/
#define DEVICE1_ESIZE 0x20000 /*taken from proc/mtd erasesector*/
#define DEVICE1_ENVSECTORS 1
/*#define DEVICE2_OFFSET 0x0000
#define ENV2_SIZE 0x4000
#define DEVICE2_ESIZE 0x4000*/
#define CONFIG_BAUDRATE 115200
#define CONFIG_BOOTDELAY 5 /* autoboot after 5 seconds */
#define CONFIG_BOOTCOMMAND \
"bootp; " \
"setenv bootargs root=/dev/nfs nfsroot=${serverip}:${rootpath} " \
"ip=${ipaddr}:${serverip}:${gatewayip}:${netmask}:${hostname}::off; " \
"bootm"
extern int fw_printenv(int argc, char *argv[]);
extern char *fw_getenv (char *name);
extern int fw_setenv (int argc, char *argv[]);
extern unsigned long crc32 (unsigned long, const unsigned char *, unsigned);
----------------------------------------------------------------------------------------------------------------------------------

Well, I would like to share three good web links also for your better understanding..

Friday, 14 December 2012

A two days week end trip to Madikeri(coorg).


A two days week end trip to Madikeri.(08.12.2012 and 09.12.2012)
            This is the district head quarters of Coorg (Kodagu) district of Karnataka State in southern India. It is often referred to as the Scotland of India. A very beautiful place indeed and is a hill station with mild climate during the summer.
                         It is 120 km from Mysore and 136 km from Mangalore. From Bangalore, the state capital of Karnataka, one can take the State Highway 17 (Bangalore - Mysore Highway) and take a deviation just after the town of Srirangapatna to join State Highway 88 towards Madikeri. From Bangalore, Madikeri is at a distance of 252 km.
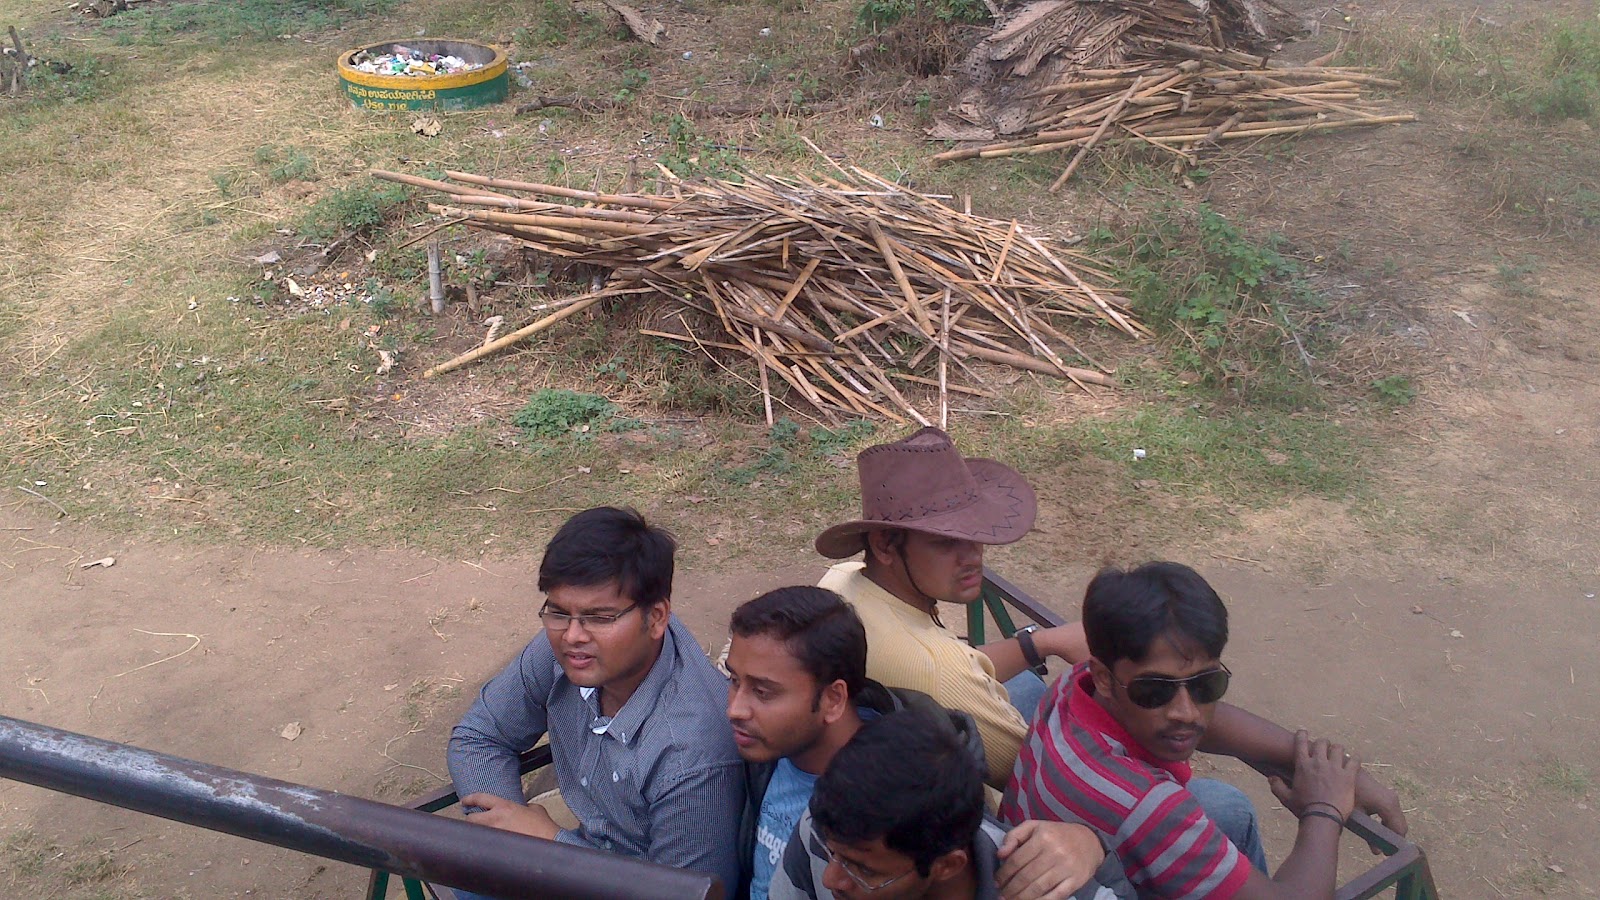
 We started our trip from agara (Bangalore) around 11Pm on Friday night with a group of 11 in tempo-travel; reached madikeri at 5.30Am Saturday morning booked rooms, got fresh and then started our Saturday from lodge at 9Am. 

Then we directly went to talakaveri from our lodge,
 About Talakaveri
Talakaveri is the Birth Place of Kaveri River. Located in the Brahmagiri hill near Bhagamandala, which is one of the 7 sacred rivers of Sapta Sindhus of the Hindu scriptures. It is around 1,276 m above sea level. Talakaveri is about 8 km away from Bhagamandala and 48 km from Madikeri. However, there is not a permanent visible flow from this place to the main river course.
 The temple here is dedicated to Lord Agastheeswara, which denotes the link between Kavery and Sage Agasthya. There are 2 temples, a Shiva temple and with a rare and ancient Shiva Linga, and another temple dedicated to Lord Ganesha. This temple has a holy Ashwantha tree where, according to the people residing there saying, the Trimurtis - Brahma, Vishnu and Mahesh gave darshan to sage Agasthya. Kaveri River originates as a spring feeding the tank called the holy Kundike, which is considered to be a holy place to bath on special days.
Legends also has it that every year on Tulasankramana day Goddess Parvathi appears in the Kundike as the sacred Theerthodbhava. Also from Talakaveri, we can see the steps lead up to the nearby hill called Brahmagri peak, The Sapta Maharishis are said to have performed a special yagna. we can enjoy a good view of the misty blue Brahmagiri hills from the peak of the brahmgiri peak.


Bhagamandala Temple : Triveni Sangama
 Bhagamandala is a pilgrimage place in Kodagu. Which comes while going to talakaveri It is situated on the river Kaveri in its upstream stretches. Bhagamandala is on the banks of the confluence of three rivers, Cauvery, Kannike and the sub terrain Sujyoti, popularly known as "Triveni Sangama". Located about 38 km from the district headquarters Madikeri and is connected from Madikeri, Virajpet and nearby places in Kerala. Sri hagandeshwara temple is a Famous temple near triveni sangama, where Bhagandeshwara (Ishwara), Subramanya, Mahavishnu and Ganapati temples are there.. its also called as Bhagandeshwara Kshetra, The Bhagandeswara temple complex though said to have been built by the Cholas prior to th 11th century follows the gabled roof style of the Kerala temple architecture common on the west coast.
A short distance from Bhagamandala is the temple at Padi, which houses the deity Lord Igguthapp and is considered by many Kodavas to be the most sacred shrine in their homeland.
Bhagamandala is a famous Honey marketing centre, many shops near the temple were selling honey bottles.
The history about this place: During 1785-1790, the area was occupied by Tipu Sultan. He renamed Bhagamandala to Afesalabad. In 1790 King Dodda Vira Rajendra took Bhagamandala back into an independent Kodagu kingdom.


Omkareshwara Temple : Madikeri :
                  The Omkareshwara temple in Madikeri is one of the old temple and its is mix of Gothic and Islamic styles,  Mumammadan style of architecture with a dome in the center and four turrets at four corners, The temple is Similar to a Muslim dargah with a Linga installed near the entrance door. We reached  at 11.45am took the omakareshwara darashana received prasadam. There is a pool in front of the temple with tons of fresh water fishes in it, in the middle of the tank there is a "mantapam" connected by a causeway. It is near to the Madikeri port.
 History of Temple :It is  built by Lingarajendra II in 1820. Temple dedicated to shiva, was built in the 19th century in a mix of Gothic and Islamic styles. Legend has it that the King put to death a Brahmin to fulfill his political ambitions and in order to appease the spirit of the Brahmin, the temple was built. That Brahmin became a "Brahmarakshasa" and started teasing the king with troubles. It left the king only when the king brought a Shivalinga" from Kashi and installed it after building a temple. The shivalinga was named as "Omkareshwara" and regular rituals were performed. The bars of the windows of the temple were made of "Panchaloha" and an alphabet "lim" has been placed in between the bars. The King inscribed the history of the temple in a copper plate which is fixed at the entrance door frame. 


Abbi / Abby WATER FALLS
                   We reached Abbi falls around 1.30pm with lots of hope to play in water and enjoy, To enjoy in water we have prepared in always with our ¾ to have fun in water but when we reached down to abby falls we have disappointed . Because there is no way we can enjoy in water, the karanataka forest deportment is restricted to play in water. A hanging bridge has been built across the gorge here offering a good view of the falls.We then took some phots then returned from there.
Abbey Falls also called as Abbi Falls is located around 8 kms from the town of Madikeri. The waterfall is located between coffee plantations, spice estates and green trees where several streams join from the mountains and gush down to join the Kaveri river.The falls appear suddenly, the water cascading over rocks into calm pools. The roar of the falls can be heard from the road.
The best time to visit is early winter when the monsoons bring plenty of water. The falls can be reached by a narrow road from Madikeri. Cars can reach the entrance of these falls from where a downhill walk of 500 metres on slightly paved steps takes one to the waterfalls.


Dubare - Elephant camp
 After abby falls disappointment we then made ahead to dubare. Its good place to visit and there we got in to rafting which made more enjoyable of that day. Along with a rafting guide we went on the river ride with 10 friends and guide by paying each 100rupeees. He took us to the middle of the river and said dive in, many of my friends were knew the swimming they got in to river with curious. After some few min I also took dive in to river wow it  was totally amazing.
About the place: The moist forests of Dubare are home for many wild animals and birds. Just about 18 kms from kushalnagar is a natural island with approximately 11 acres of land. This is a fabulous pick nick place where you can enjoy the Nature. Situated on the banks of River Cauvery [Kaveri], this place is an ideal holiday spot, Sighting of wild Elephants are regular and so is spotting the sambhar and the spotted deer. There is also Water rafting in a small stream which has no hus-gush water flow. You get to enjoy a clean rafting for u and your family. The Indian Bison or Gaur and bears are also seen in these forests. Dubare is mainly an elephant capturing and training camp of the Forest Department.


Bailkuppe : Golden Temple
                        After finishing the rafting we had a cup of tea and around 5.30pm we left dubare and reached bailkuppe around 6.30pm.
Bailkuppe near Kushalnagar is one of the largest Tibetan settlements in south India. Most notable among them are the large educational monastic institution Sera, the smaller Tashilunpo monastery and Namdroling monastery .The Mahayana Buddhist University is at Sera. There are many monks and nuns. The gold-coated Buddhist statues in the monastery are imposing and unique, reflecting the rich cultural heritage of the Tibetans. The statues are of Guru Padmasambhava, Buddha Shakyamuni and Amitayus. They make handicrafts, carpets and incense. Tourists can shop for sweaters, dress material and other accessories which are available at outside.
                            After golden temple visit we went back to madikeri(to ladge) and got fresh then went for to have dinner, searched for good restaurant finally got one SHIVE Sagare, there the we got an worst sever, service and worst food at that night.


 2ed day morning on Sunday(9.12.2012) ……………………………………
 Madikeri Fort
              First place on the Sunday morning Madikeri fort there not much more to see in the place, we took some photos and returned to TT. The Palace of the erstwhile kings located inside the Fort, now houses the offices of the Deputy Commissioner.
About place: it was first built by Mudduraja in the last quarter of the 17th century. He also built a palace inside the fort. It was eventually rebuilt in granite by Tipu Sultan who named the site as Jaffarabad. In 1790, Doddavira Rajendra took control of the fort.
The palace was renovated by Lingarajendra Wodeyar II in 1812-1814. One can find two life size masonry elephants in the north-east corner at the entrance and a church in the south-east corner.


Raja’s Seat
 Raja’s Seat is a small pavilion with a garden surrounding it; offering a view of the green valley below. According to legend, the kings of Coorg spent their evenings here. The spectacular sunset and the far stretching Blue Mountains will take ones breath away. This is the spot from where the kings watched the sunsets with their consorts and is the most scenic sport in South India. It offers breathtaking view of towering hills, green valleys, studded with paddy fields. The most fascinating view is the road to Mangalore like a curved ribbon lying in the valley.


Nisargadhama :

Nisargadhama is a breath taking and beautiful island off the state highway, Just 2 km from Kushalnagar town and around 30 kms from Madikeri. An Ecological Park for young and old and a paradise for the nature lovers also it has a small snack house, a deer park, boating and elephant ride. It gives immense pleasure to all the Nature loving tourists. Elephant rides and boating are some of the other attractions. We took elephant ride it was wonderful, This place is for one who wants to spend a nice time in the green with family, there are also tree houses boating and other activities conducted around this place. But at our visit boating was not running. 


Iruppu Falls
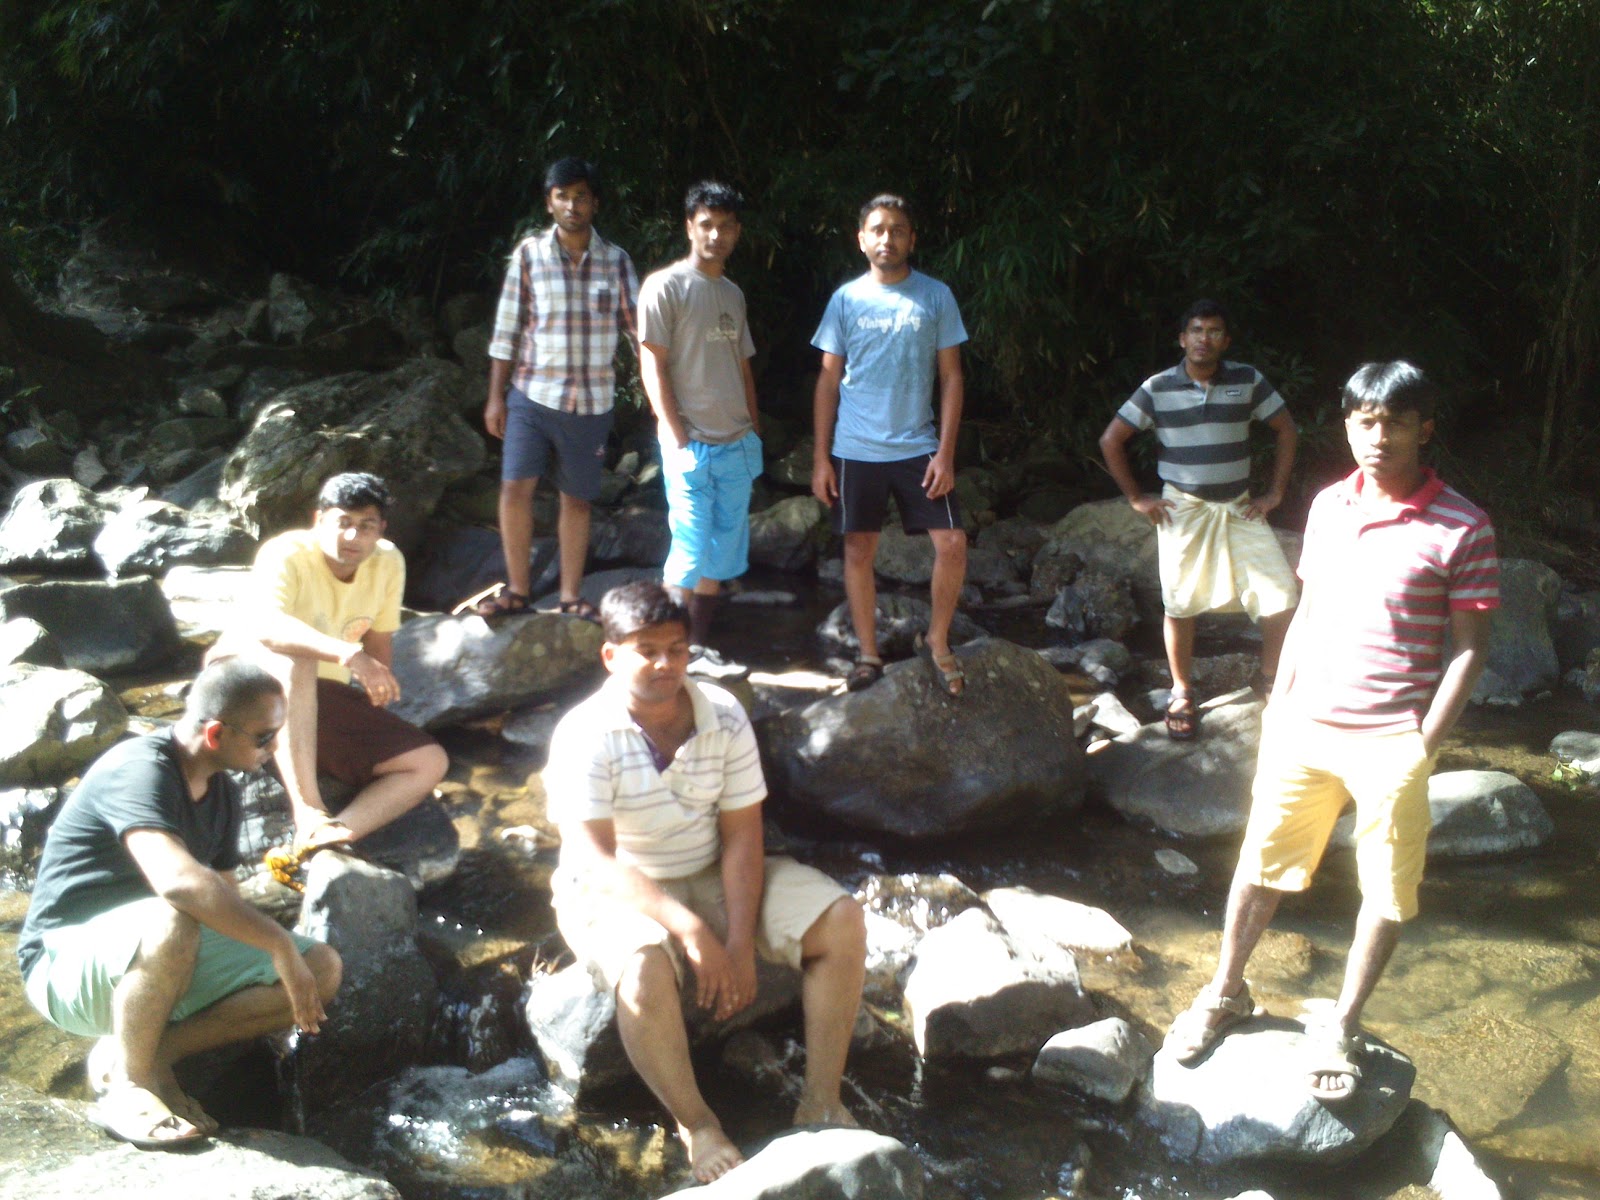
We reached Iruppu waterfall around 3.30pm and took the ticket for entry to falls by paying 20 rupees each, walked around 1km to reach the falls it looks very nice and we all played in water for more than a hour, the water of the river was very much cold it was an good fun with playing with cold child water. We left this place at  5.30 and crossed the nagarehole forest there is a timing for travelling in nagarehole forest 6pm to 6am there is no entry. Finally  made our journey toward Bangalore at 1am we reached  our place.
 About place: it is one of Coorgs major tourist attractions. Iruppu is a sacred place and is located in south Coorg on the Brahmagiri range of hills. River Lakshmana-tirtha flows nearby. According to legends Rama and Lakshmana, passed this way in search of Sita. Lakshmana shot an arrow into the Brahmagiri hills and brought into being the river Lakshmana tirtha when Rama asked him to fetch some water.The river descends into a water fall known as the Irupu Falls and takes a 60 meter plunge down the river amidst the lushy green mountain and Here is the Rameswara Temple,This falls can be reached through step climbing path of about one km from the temple.
Irpu Falls is around 30kms from Gonikoppa and 80 kms from Madikeri. Nagarahole is just 25 kms away from Irpu Falls and about 45 kms from Virajpet under the Jurisdiction of Kurchi Village.